
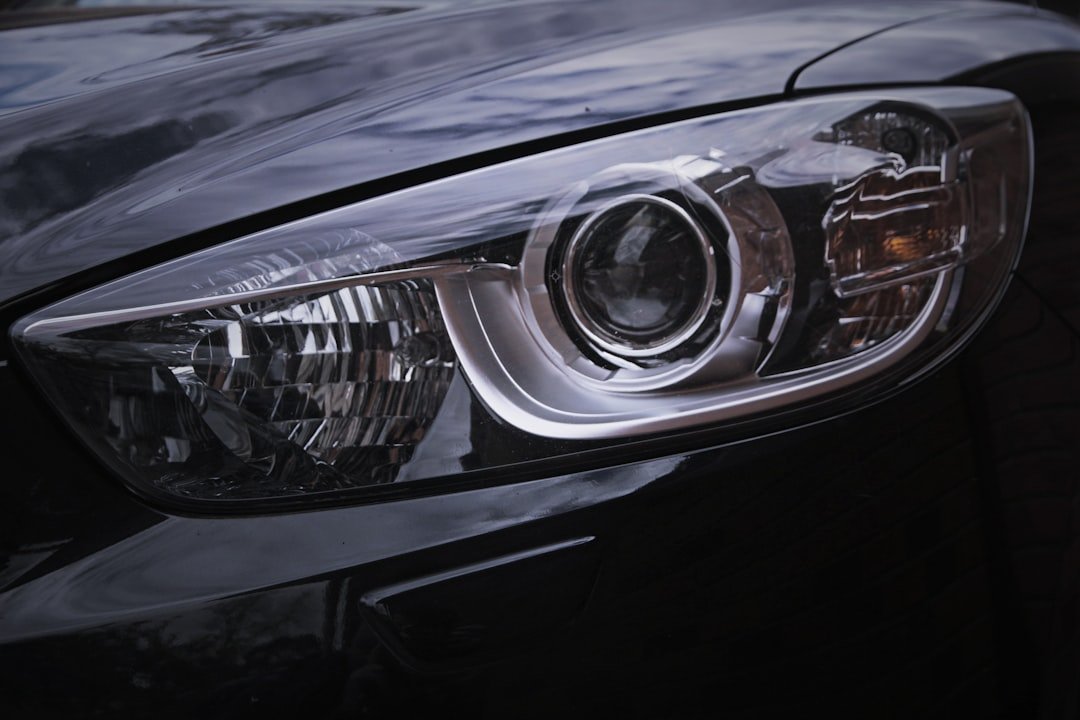
A cracked lens or a dim, yellowed headlight isn’t just a cosmetic problem — worn lighting is one of the more common reasons a vehicle fails inspection or draws a police stop after dark. The good news is that headlight and taillight assemblies are one of the safest, most straightforward used parts to buy, since there’s no moving mechanism inside to wear out. The part either works and seals properly, or it doesn’t.
This guide covers how to inspect a used headlight or taillight assembly before you buy, how to confirm fitment, and what a fair price looks like.
Why Lighting Parts Are a Good Used-Parts Candidate
Unlike a used alternator or water pump, a headlight or taillight assembly has no moving parts, no fluid, and nothing to wear out under normal use. The main risks are physical: cracks from an impact, moisture intrusion from a broken seal, and UV-related cloudiness on the outer lens. All three are easy to spot with a visual inspection, which makes lighting parts one of the lower-risk purchases in a salvage yard’s inventory.
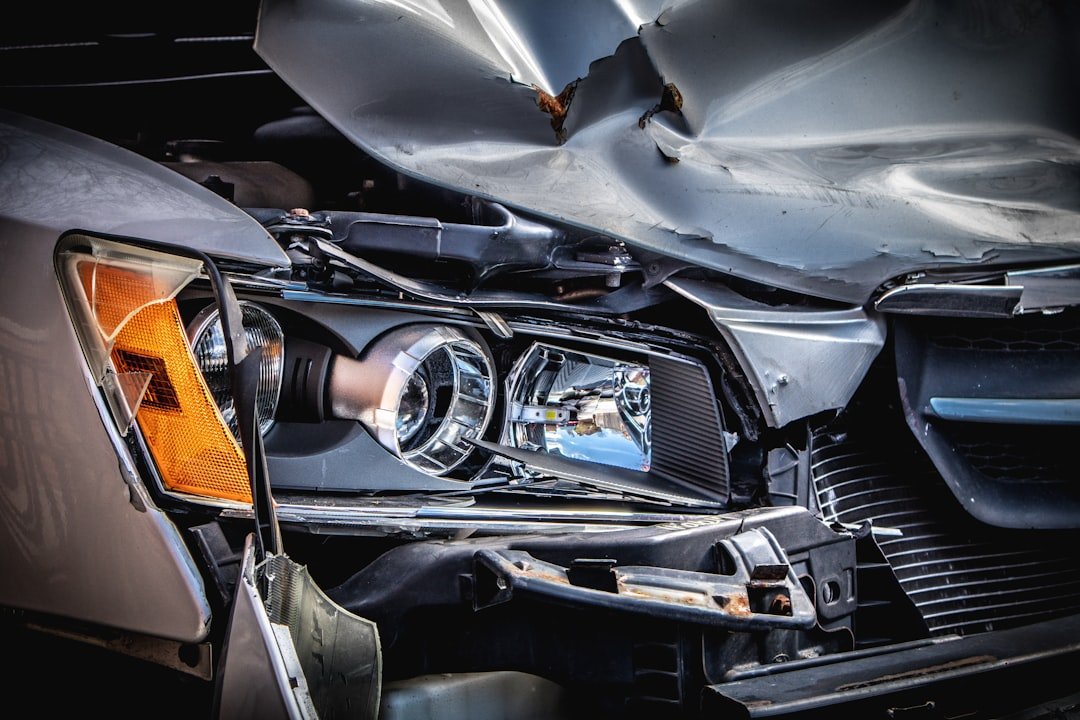
This is also why headlights and taillights are commonly available from newer, lower-mileage donor vehicles. A car totaled in a rear-end collision might have a perfectly intact set of headlights, and a front-end collision often leaves the taillights untouched, so the part’s condition frequently has more to do with the nature of the donor vehicle’s damage than its age or mileage.
What to Check Before You Buy
- Look for cracks, chips, or a lens that has separated from its housing — any of these can let moisture in over time even if the part looks fine at a glance.
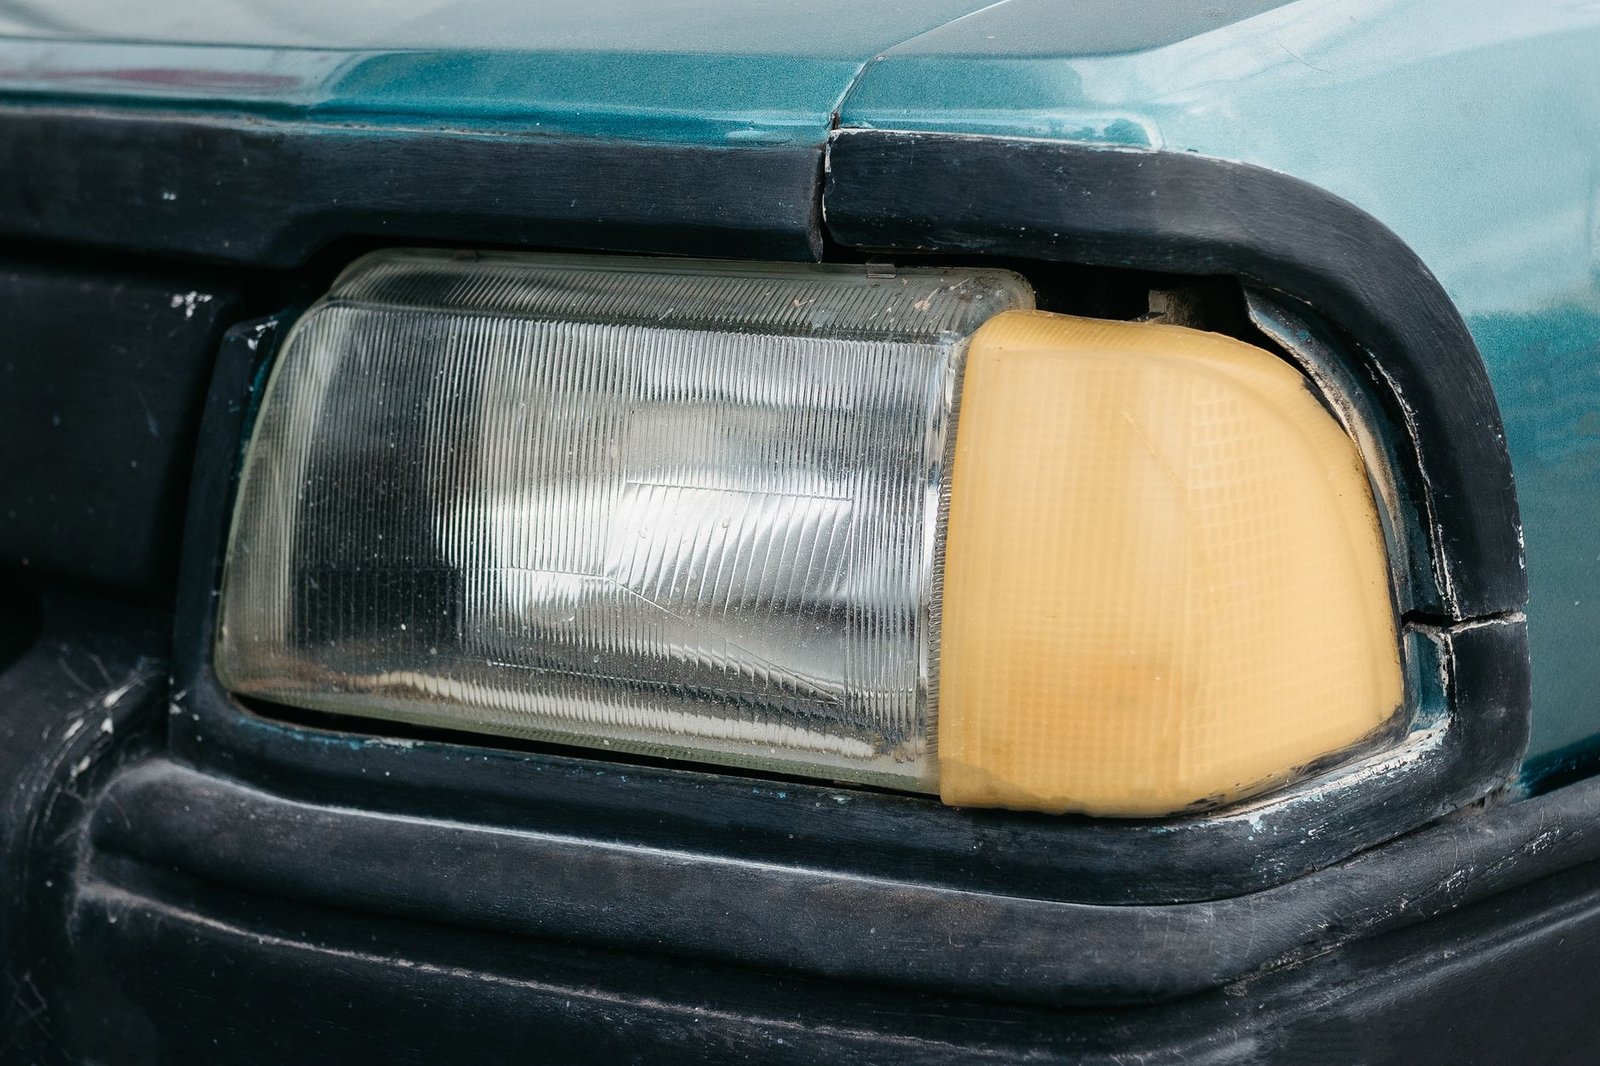
- Check for cloudiness or yellowing on the outer lens, a sign of UV oxidation that affects light output even when the bulb and wiring are perfectly good.
- Look inside the housing for condensation, water droplets, or a milky residue, which point to a failed seal rather than normal dew.
- Confirm the wiring harness connector is intact and not cut, corroded, or missing pins.
- Ask whether the part was tested for correct beam pattern and function before it was cataloged, not just visually inspected.
Common Problems and What They Mean
| Symptom | Likely Cause | Fixable? |
|---|---|---|
| Cloudy, yellowed lens | UV oxidation of the outer plastic | Sometimes with polishing, otherwise replace |
| Water inside the housing | Failed or cracked seal | Replace the assembly |
| Dim or flickering light | Bad bulb, connector, or ground wire | Often fixable without replacing the assembly |
| Cracked lens | Impact damage | Replace the assembly |
| One side dimmer than the other | Mismatched bulb type or failing ballast (HID/LED) | Check bulb match first |
Halogen, HID, and LED: Why It Matters When Buying Used
| Type | What to Know When Buying Used |
|---|---|
| Halogen | Simplest and cheapest to replace; the bulb and housing are usually independent |
| HID (Xenon) | Assembly includes a ballast; confirm the ballast is included and tests as working |
| LED | Often integrated with the housing as a single sealed unit; a failure usually means replacing the whole assembly |
Mixing lighting types side to side, or buying a used assembly with a different bulb type than your vehicle originally had, can cause uneven beam pattern and in some cases isn’t legal for on-road use. Confirm the bulb type of the used part matches your vehicle’s original equipment.
DIY Installation: What to Expect
Most headlight and taillight assemblies are a reasonable DIY job. They’re typically held in place with a handful of bolts or push clips accessible from the front or rear, plus a wiring harness connector that unplugs and reconnects without any cutting or splicing. Budget 30 to 60 minutes per side for a straightforward swap, longer if the assembly is tucked behind a bumper cover or requires removing an air intake duct to get at the mounting bolts.
After installing a new-to-you assembly, check the beam alignment. Most vehicles have small adjustment screws on the back of the headlight housing for this, and an improperly aimed headlight can blind oncoming drivers or leave you with poor visibility even with a perfectly good bulb.
Confirming Fitment
Headlight and taillight assemblies are often side-specific (driver vs. passenger) and can vary by trim level and model year even within the same generation of a vehicle. Cross-referencing your VIN against the seller’s inventory is the most reliable way to confirm a used assembly will bolt in without modification.
Vehicle lighting in the U.S. is also governed by Federal Motor Vehicle Safety Standard 108, the NHTSA regulation covering placement, color, and function of headlights, taillights, and reflective devices. It’s a good reason to stick with OEM-style used assemblies rather than mismatched aftermarket parts, since factory parts are built to meet that standard by design.

Typical Costs: Used vs. New
| Component | Typical Used Price | Typical New Price |
|---|---|---|
| Headlight assembly (each) | $50–150 | $150–500+ |
| Taillight assembly (each) | $40–120 | $100–350 |
| HID/LED assembly (each) | $100–250 | $300–900+ |
Warranty Coverage
Because lighting assemblies are low-risk parts, most sellers back them with a standard 30 to 90 day warranty covering seal failure or electrical faults discovered after installation. Ask whether the part was bench-tested for both low and high beam function, turn signal, and any integrated daytime running light before it left the shelf.
Where Englewood Used Auto Parts Fits In
Every headlight and taillight assembly we sell is inspected for cracks, moisture, and lens condition, then tested for proper function before it’s cataloged by make, model, and year, and backed by a warranty. Browse our used auto parts inventory or call ahead with your VIN to confirm current availability.
Not sure how to confirm your VIN before ordering? Our VIN and vehicle compatibility guide covers exactly what to check. And if you’re inspecting more than just lighting on a used vehicle, our used suspension parts buying guide covers what else is worth a close look underneath.
Frequently Asked Questions
Is it safe to buy a used headlight assembly?
Yes. Headlight and taillight assemblies have no moving parts, so the main things to check are cracks, moisture inside the housing, and lens clarity. A part free of these issues performs the same as new.
Can a cloudy or yellowed headlight lens be fixed instead of replaced?
Sometimes. Light UV oxidation can often be improved with a polishing kit, but if the cloudiness is deep or the lens has started to pit, replacing the assembly is usually the more lasting fix.
How do I know if a used headlight will fit my vehicle?
Cross-reference your VIN against the seller’s inventory. Headlight and taillight assemblies are frequently side-specific and can vary by trim level even within the same model year.
Do I need to replace both headlights at the same time?
Not necessarily for the assembly itself, but if you’re replacing bulbs, doing both sides together avoids a noticeable brightness or color mismatch between the two.
Do used headlights and taillights come with a warranty?
Reputable sellers typically offer 30 to 90 days, covering seal failure or electrical faults found after installation. Confirm the part was bench-tested for proper function before you buy.
Is it hard to install a headlight or taillight assembly myself?
Most are a reasonable DIY job, typically held in with bolts or push clips and a single wiring connector. Budget 30 to 60 minutes per side, and check headlight beam alignment afterward using the adjustment screws on the back of the housing.
Not sure which headlight or taillight assembly fits your vehicle? Contact our parts counter with your year, make, and model, and we’ll confirm availability and condition before you buy.

Leave a Reply