Buying a tested, warrantied part from a counter is the easiest path to a repair, but some drivers prefer to pull a part themselves, whether to save money, learn the process, or because they already have the donor vehicle on hand. If that’s you, this guide covers the basics: the tools you’ll need, safety steps that aren’t optional, and a general process that applies to most bolt-on parts.
This isn’t a replacement for a repair manual specific to your vehicle, but it will help you understand what you’re getting into before you start, and where the line is between a reasonable weekend project and a job better left to a shop or a tested replacement part.
Tools You’ll Actually Need
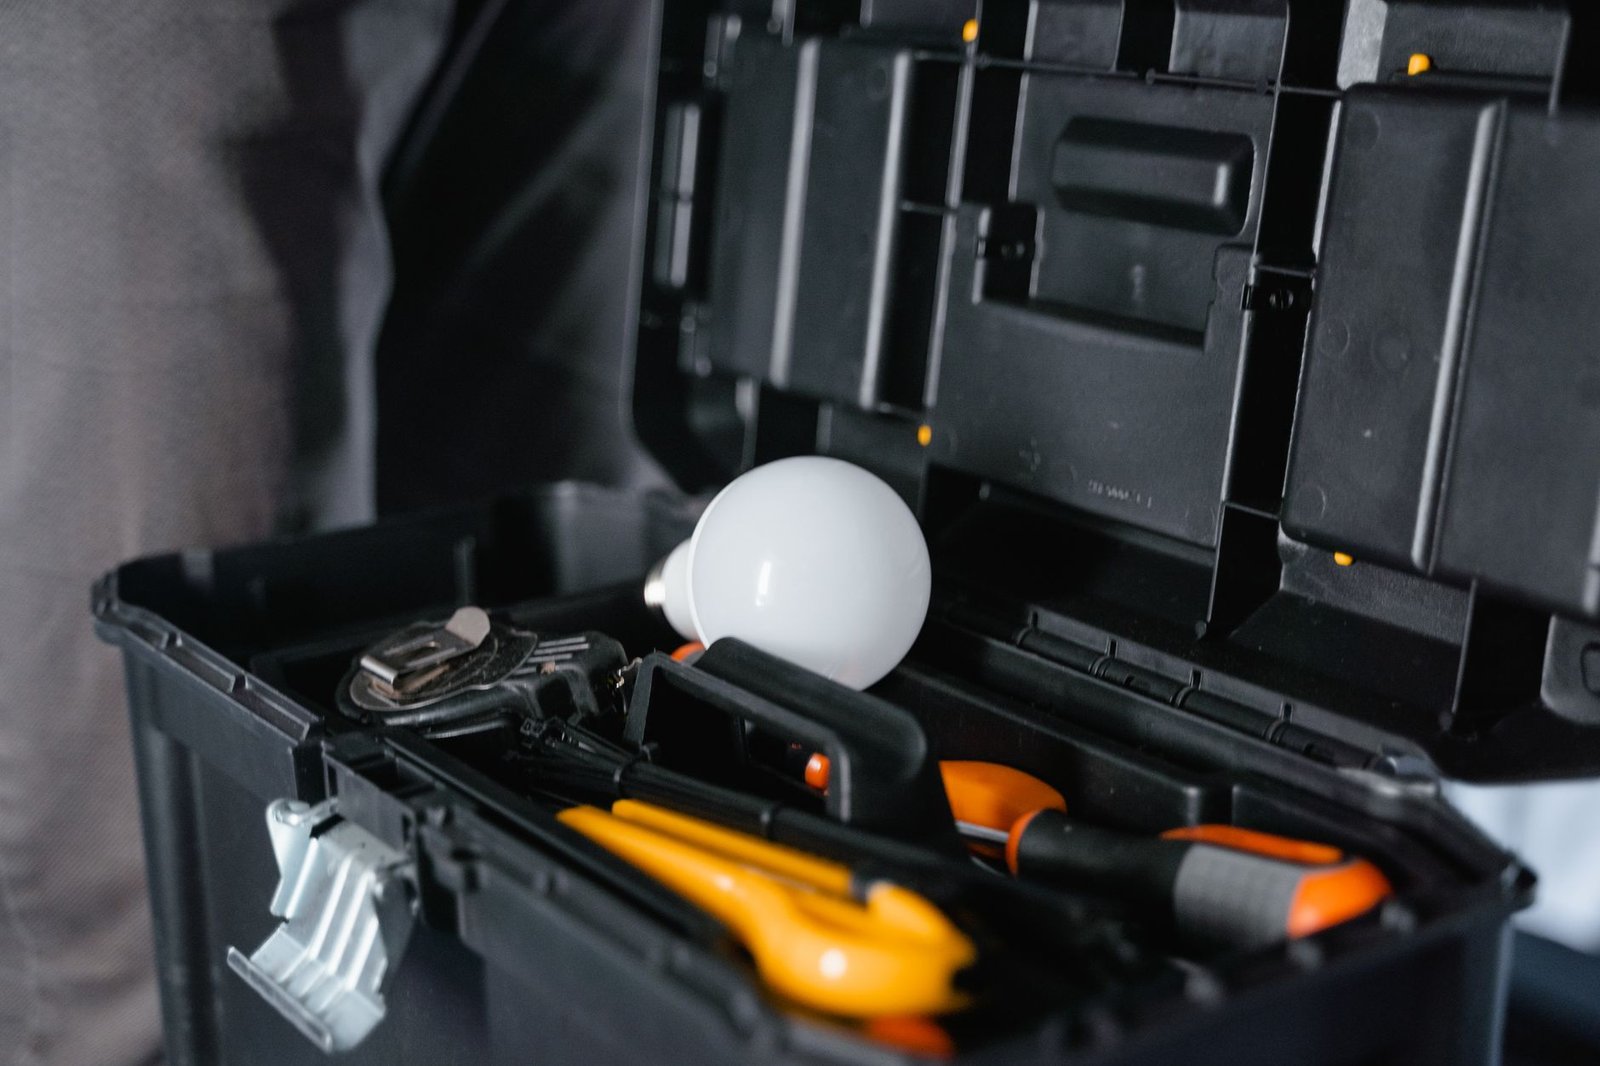
Most bolt-on part removal (mirrors, headlights, alternators, starters, and similar components) can be done with a basic set of hand tools. You don’t need a professional-grade toolbox to get started, but a few specific items make the job meaningfully easier and safer.
- A socket set with both metric and standard sizes, since you won’t always know which your vehicle uses until you’re under the hood.
- A set of combination wrenches for bolts in tight spaces where a socket won’t fit.
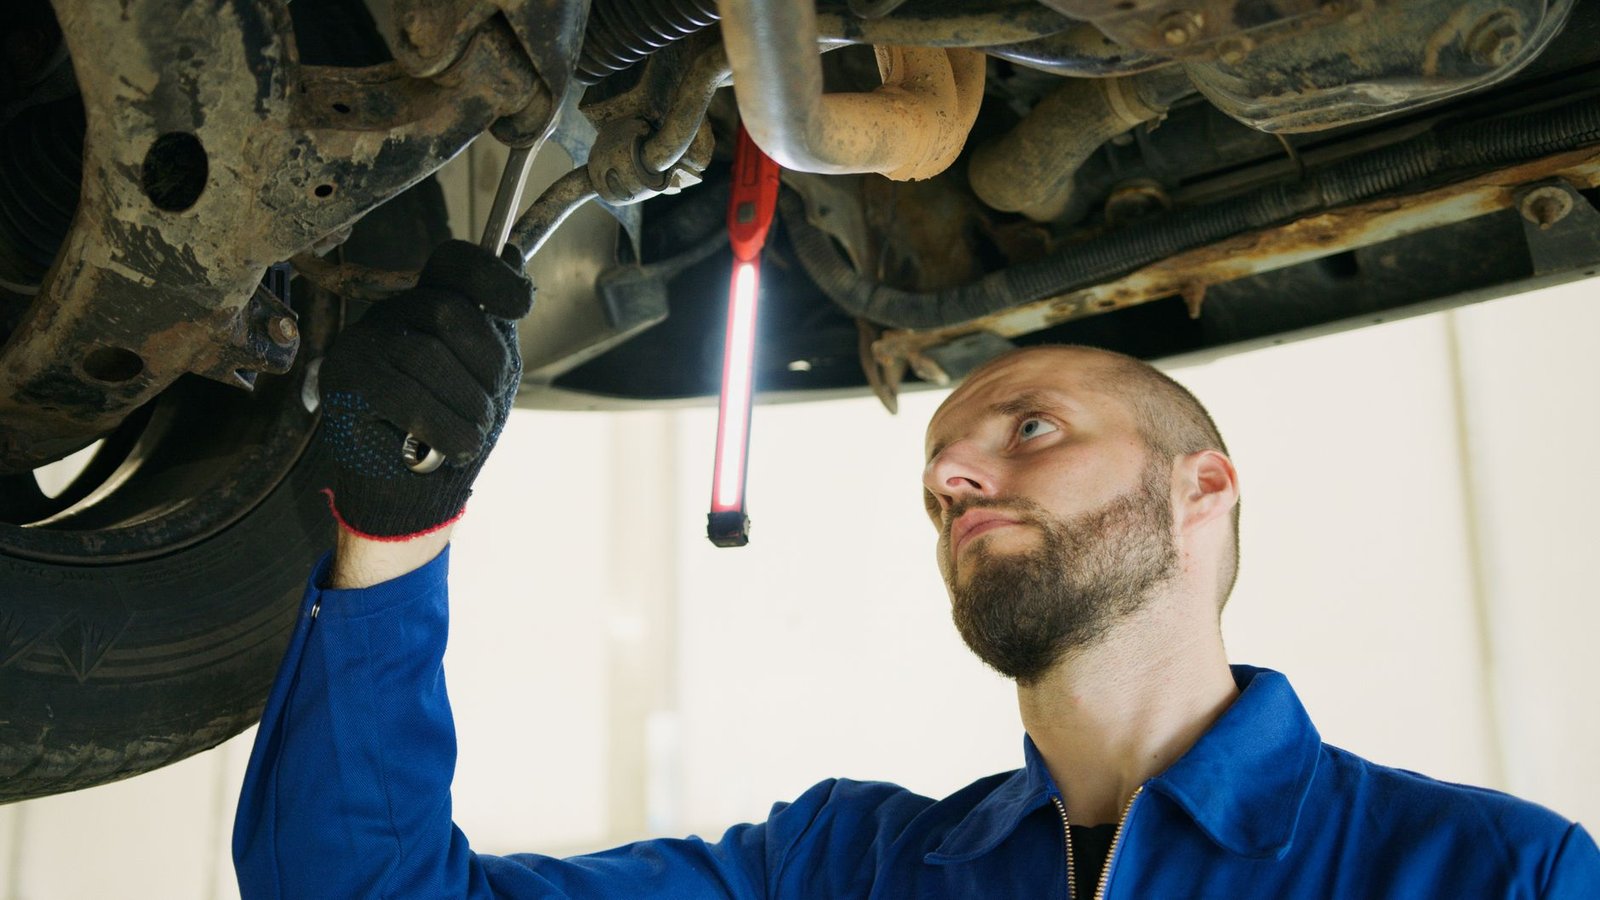
- Jack stands, not just a jack, if you need to get underneath the vehicle. A jack alone is not a safe way to support a vehicle while you’re working under it.
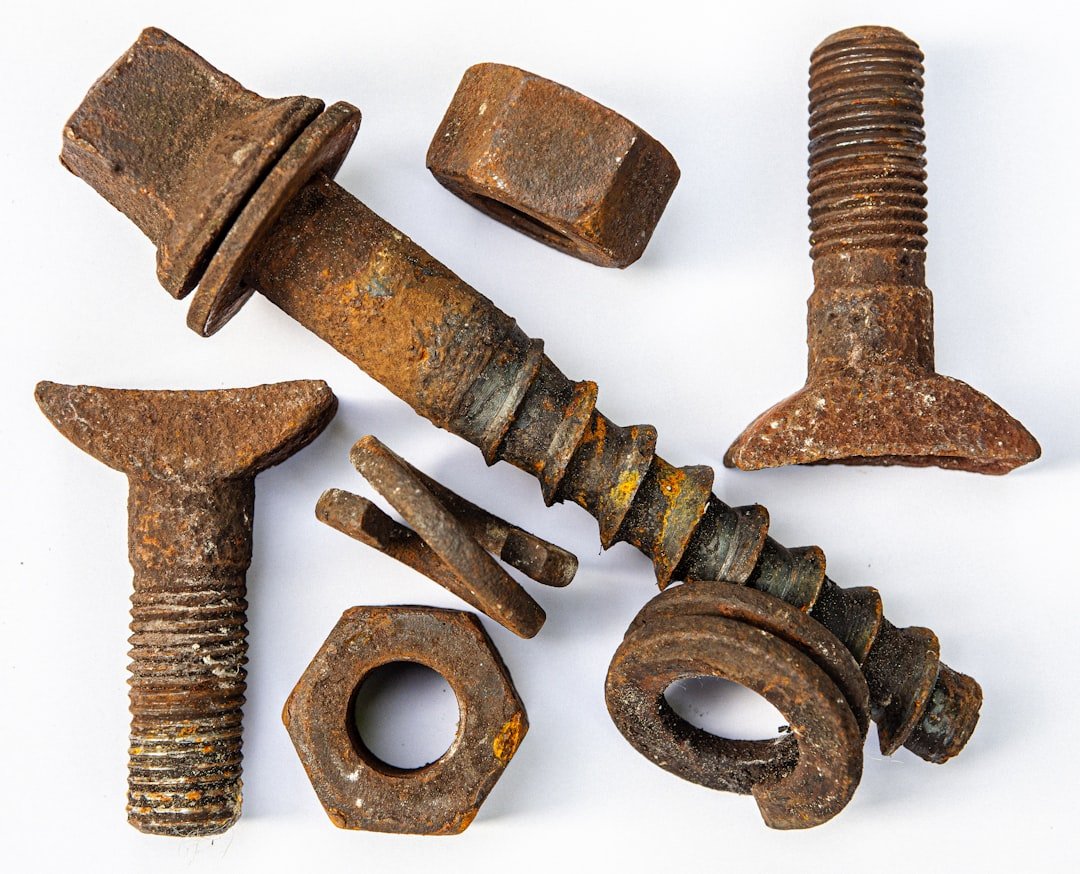
- Penetrating oil for bolts that haven’t been touched in years, which is extremely common on a used or donor vehicle.
- Gloves and safety glasses, since automotive fluids and sharp edges are a normal part of this work.
Safety Steps That Aren’t Optional
- Work on level ground and use wheel chocks if the vehicle isn’t already secured.
- If you need to go underneath the vehicle, always use jack stands rated for the vehicle’s weight, never rely on a jack alone.
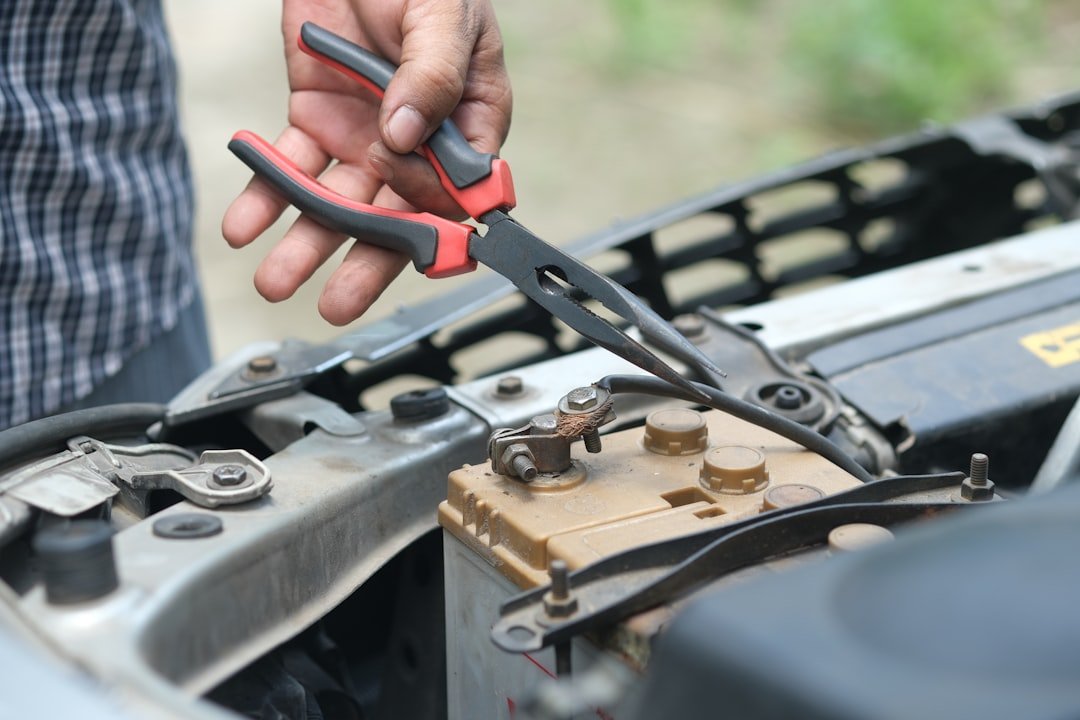
- Disconnect the negative battery terminal before working on any electrical component, to avoid a short circuit or accidental airbag deployment.
- Let the engine cool completely before working near the cooling system, exhaust, or anything close to the engine block.
A General Process for Bolt-On Parts
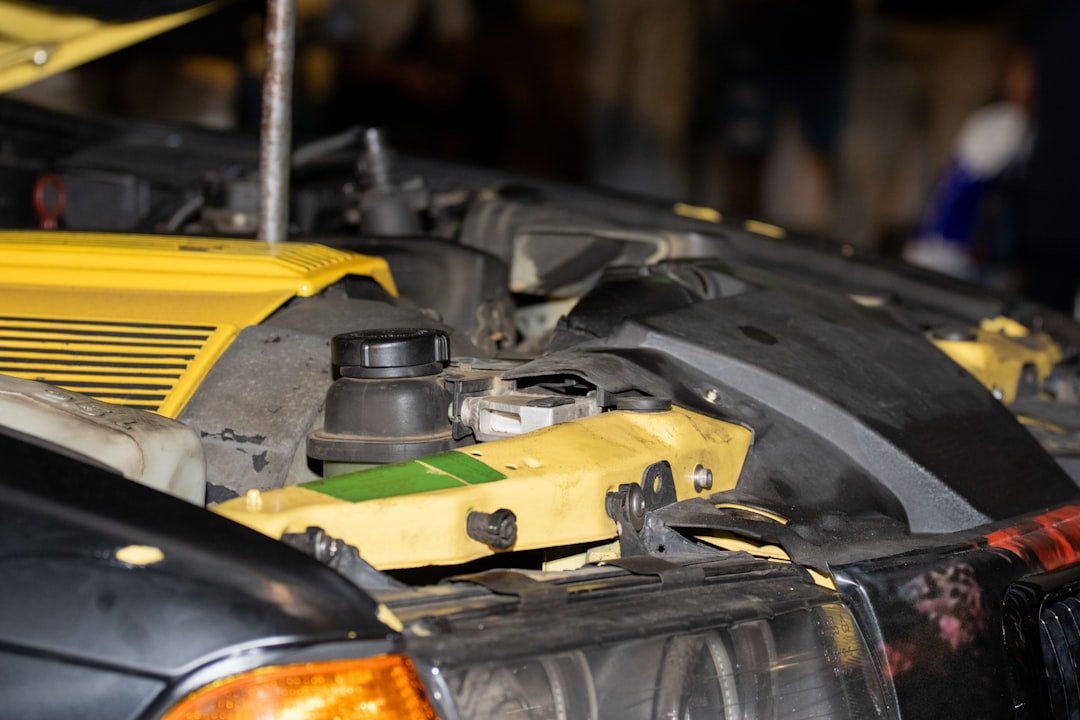
While every part and vehicle is different, most bolt-on component removals follow a similar general sequence: disconnect the battery if the part has any electrical connection, remove any covers or trim panels blocking access, disconnect electrical connectors and fluid lines if applicable, remove the mounting bolts, and carefully work the part free. Take a photo before you disconnect anything, since it’s much easier to remember how something went together when you have a reference.
Reassembly generally follows the same sequence in reverse, but it’s worth double-checking torque specifications for any bolts that hold a part in a load-bearing or safety-critical position, rather than just tightening everything as much as feels right. Over-tightening a bolt into aluminum or plastic housing is a surprisingly common way to turn a simple repair into an expensive one.
When to Call It and Buy the Part Tested Instead
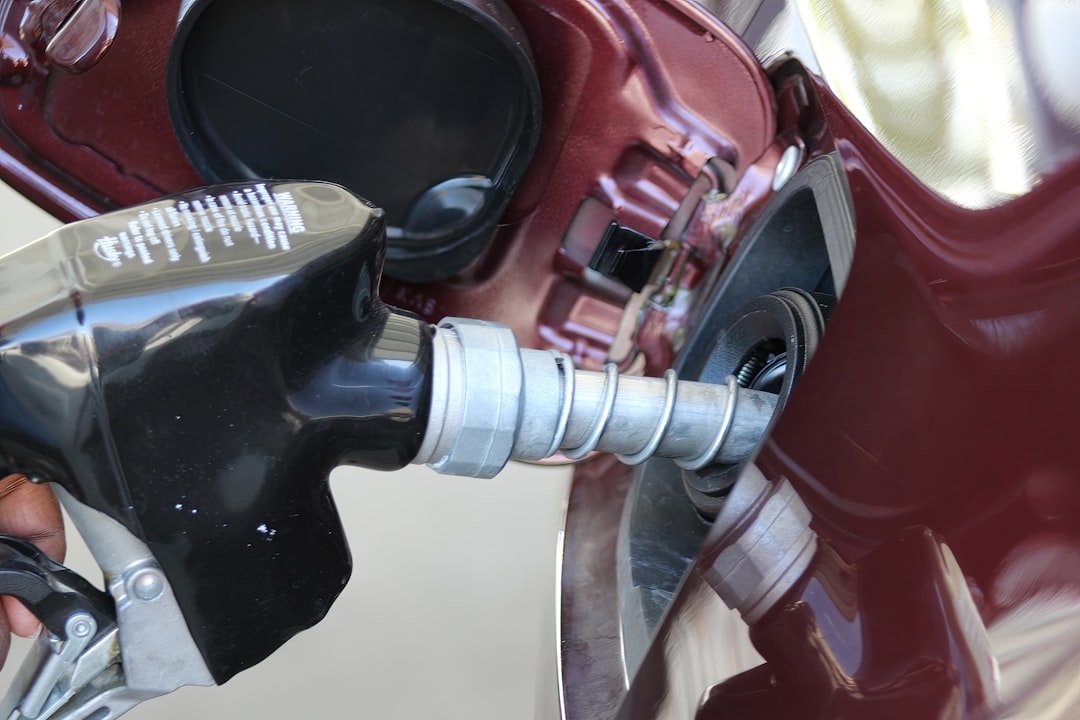
Some jobs are more involved than they look from the outside. Anything involving the fuel system, airbags, refrigerant lines, or components that require special tools to avoid damage (many timing components fall into this category) are worth thinking twice about if you’re not already comfortable with the process. There’s also a practical cost-benefit question: if a part takes you three hours to remove correctly and you’re not confident in its condition once you’ve pulled it, a tested and warrantied replacement may end up being the better value even at a higher upfront price.
Common Beginner Mistakes to Avoid
A few mistakes come up again and again with first-time DIY part removal, and knowing them ahead of time can save you real frustration. Forcing a stuck bolt without penetrating oil is one of the most common: it’s tempting to just apply more force, but a rounded-off bolt head or a snapped fastener turns a simple job into a much harder one. Similarly, working without disconnecting the battery on anything electrical risks a short circuit that can damage the part you’re trying to remove, or the vehicle’s wiring harness.
Another common mistake is not keeping track of hardware. Small clips, bolts, and connectors are easy to lose track of, and buying replacements for missing fasteners can end up costing more than any money saved by doing the job yourself. A simple parts tray or a labeled set of containers for each stage of disassembly solves this cheaply.
What to Check Before You Start
- Confirm you actually have the right part identified for your vehicle before you start disassembly, using your VIN if you’re unsure.
- Check whether the part you’re removing has any special torque specifications or one-time-use fasteners that shouldn’t be reused.
- Have a container ready for any fluid that might drain when you disconnect a line or fitting.
- Take photos as you go, especially of wiring connector orientations and any bracket positions.
Where Englewood Used Auto Parts Fits In
Whether you’re pulling a part yourself or would rather skip straight to a tested, warrantied replacement, we’re here for both. Browse our used auto parts inventory or call ahead with your VIN to confirm current availability. Many customers find that once they’ve priced out the tools, the time, and the risk of a mistake, a tested part from our counter ends up being the more practical choice, especially for a one-time repair rather than an ongoing hobby.
Our grading and warranty guide covers what “tested” actually means for the parts we sell, if you’d rather not take on the removal process yourself. Shocks and struts are one of the more common DIY jobs; our shocks and struts guide covers what to check before pulling or buying one used. Either way, the goal is the same: a part that works reliably once it’s back on your vehicle, whether you pulled it yourself or had our team do the testing for you.

Frequently Asked Questions
What tools do I need to remove a basic bolt-on part?
A socket set with both metric and standard sizes, combination wrenches, jack stands if you’re working underneath the vehicle, penetrating oil, gloves, and safety glasses cover most basic jobs.
Do I need to disconnect the battery before removing a part?
Yes, for any part with an electrical connection, disconnect the negative battery terminal first to avoid a short circuit or accidental activation of safety systems.
Is it safe to work under a car supported only by a jack?
No. Always use jack stands rated for your vehicle’s weight if you need to be underneath it. A jack alone is not a safe way to support a vehicle during work.
When should I skip DIY removal and just buy a tested part?
Jobs involving the fuel system, airbags, refrigerant lines, or components requiring special tools are worth reconsidering if you’re not already experienced. A tested, warrantied part can also be the better value if you’re not confident in the condition of a part you’d pull yourself.
What should I do before I start disassembling anything?
Confirm you have the right part identified for your vehicle, check for any special fasteners or torque specs, and take photos as you go so you can reference how everything went back together.
Not sure if a part is a straightforward DIY job or better left to a tested replacement? Contact our parts counter with your year, make, and model, and we’ll help you figure out the best path.


Leave a Reply